
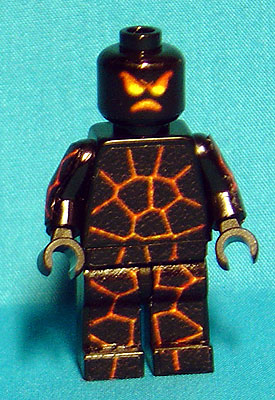
I am making hot lava monsters for my sons side of the table (that kid gets all the cool stuff!)
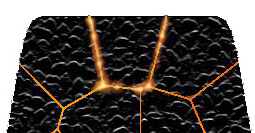
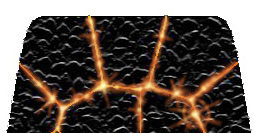
Any suggestions on how I can get the cracks in his skin to "glow"?
I tried varying the shades from yellow to red in a separate layer, and even tried putting a lens flare in (i took that back out because it didnt look right). then I tried a neon glow effect, didnt look right either, unless i am just doing it wrong.

any help you can give me making him perfect will be appreciated.
thanks
(as usual - pic=link)
Edited :
Thanks TTK and Anthony - I combined your answers to do this:
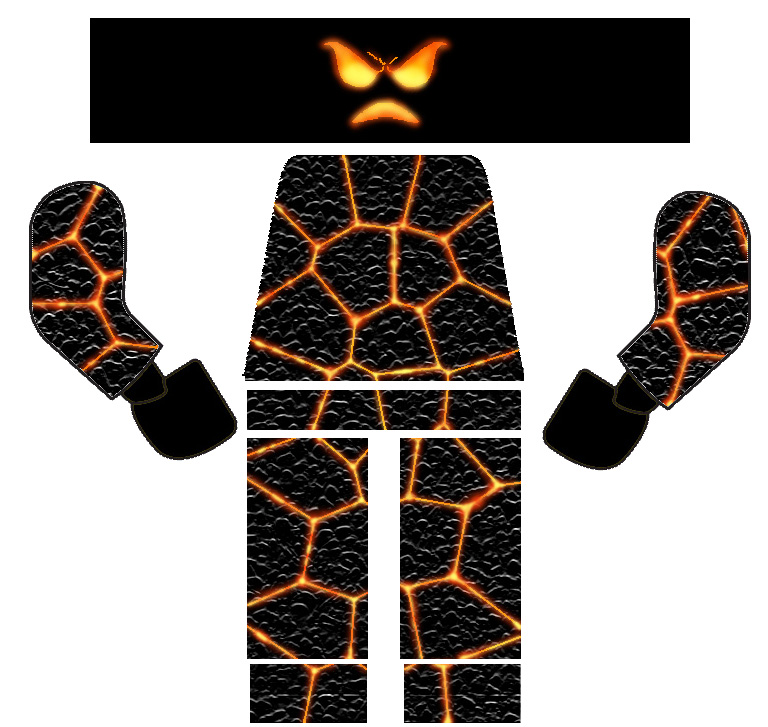
I went a bit heavy on the lines and highlights because when it shrinks down to 1.5 cm some of the detail gets lost. I am really happy with the way this turned out! I can't wait to print them and apply them, but for now its cool to just have that done.


