Custom Centaurs
by Jim Darlack (jdarlack), 12 November 2009
Whether fleshing out their collection of customized mythological creatures*, or building up an army fit for Aslan's How*, builders have used several methods to build centaurs.
Below are instructions on one possible way of modifying a horse body to make a centaur.
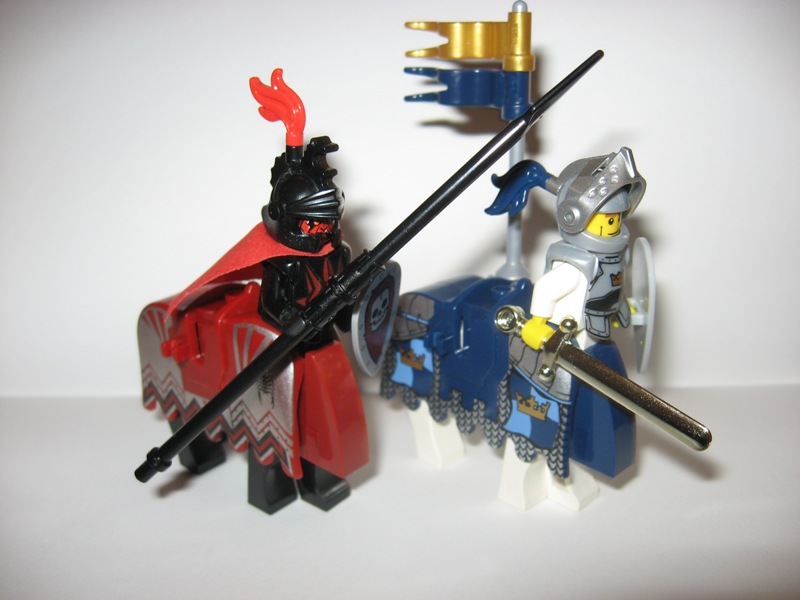
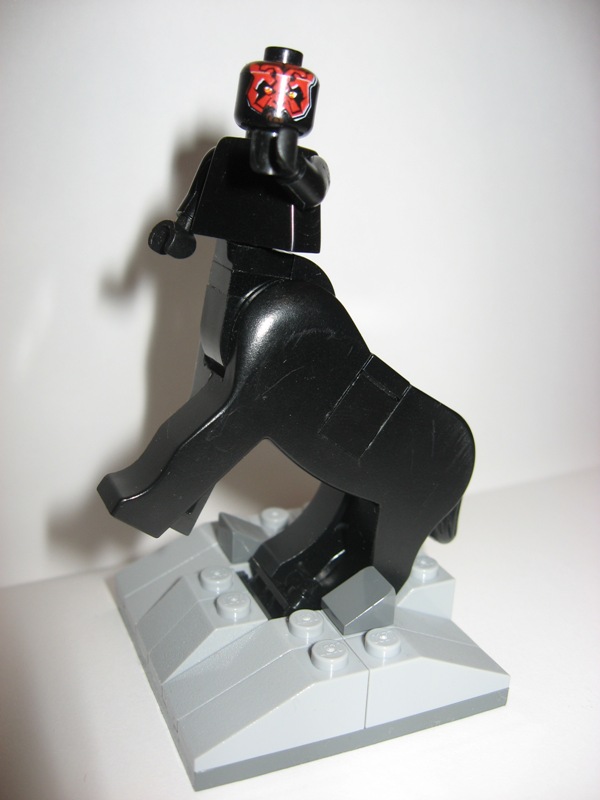
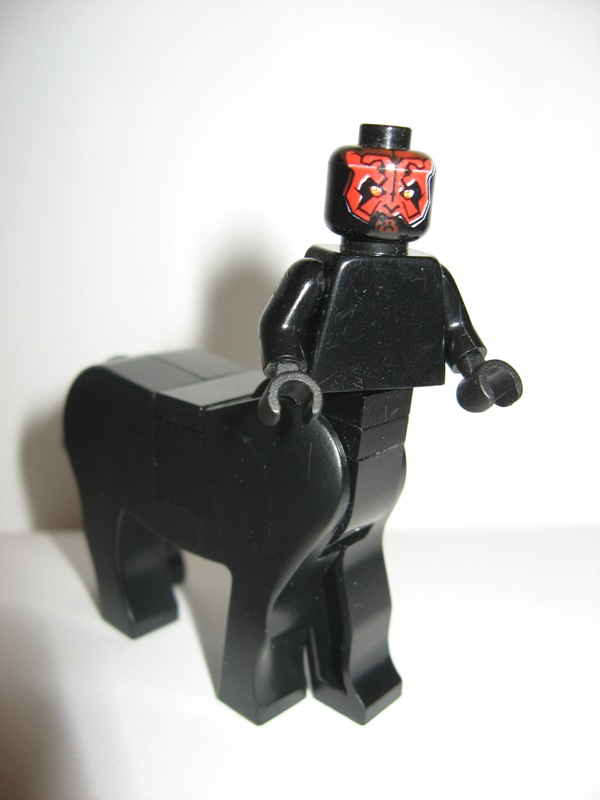
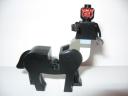
Here's a preview of the final result:

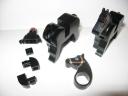
To begin, you first separate the horse halves. The two halves are very tightly joined (by a friction non-glued fit). I typically pry them apart by working on the legs first (you can get your fingers around the legs to pull them apart). I then use some sort of blunt, non-sharp, non-marring tool to continue separating the pieces by prying them apart little by little. The trick here is to be very careful and slow otherwise you'll put dents or scratches in the edges of the horse bodies. Armothe notes that "heating up the horse with a blow dryer or in a pot of hot water helps immensely in separating the pieces."
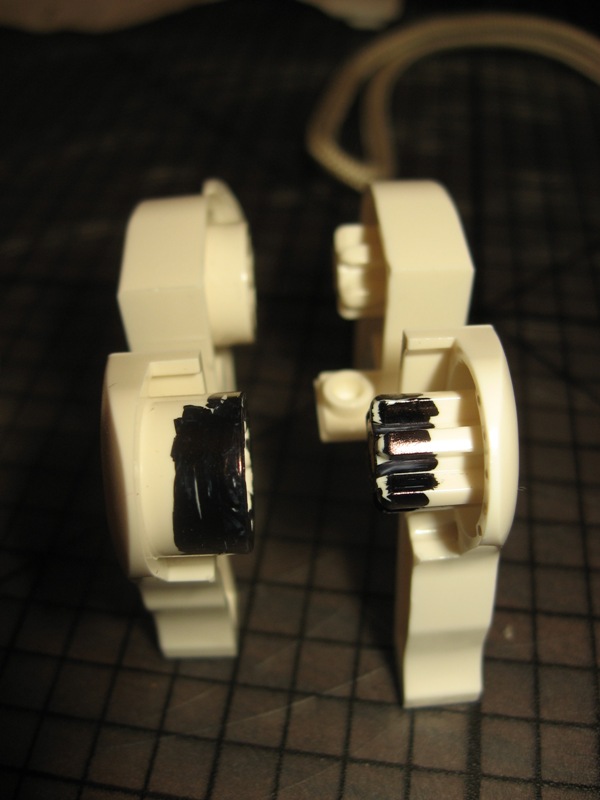
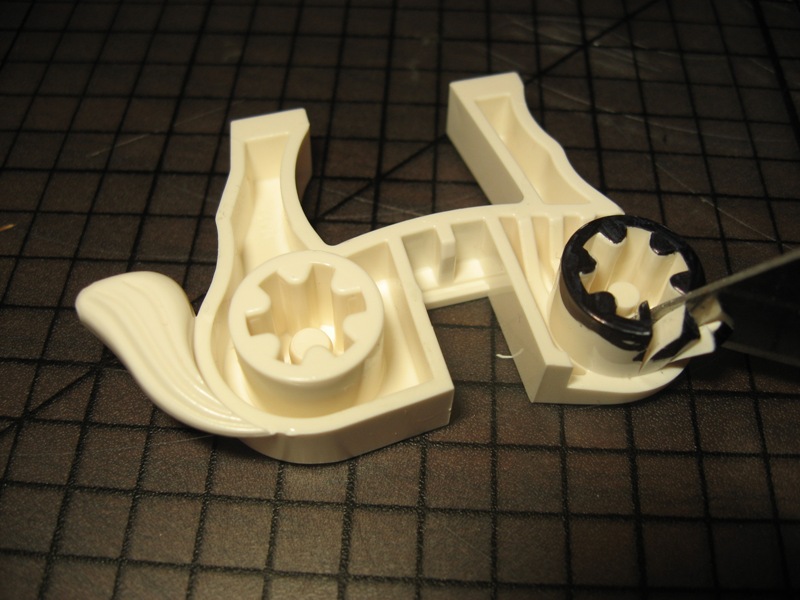
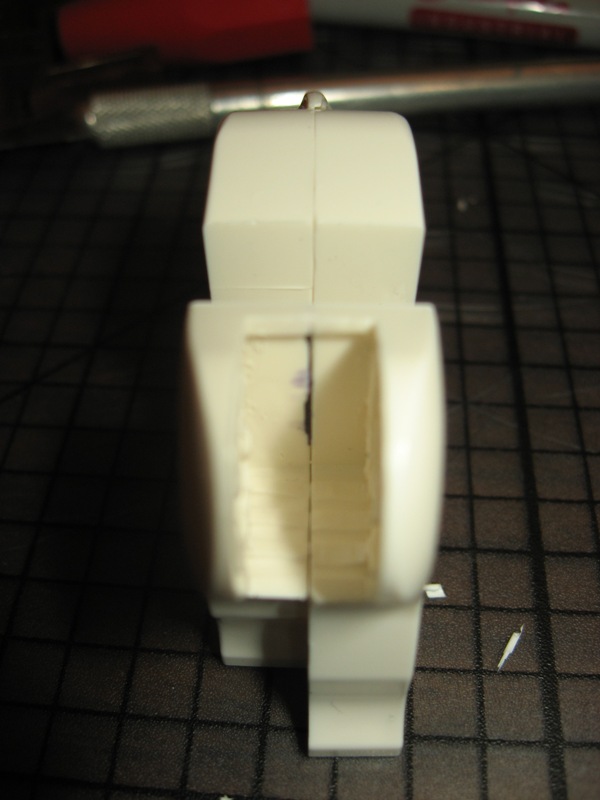
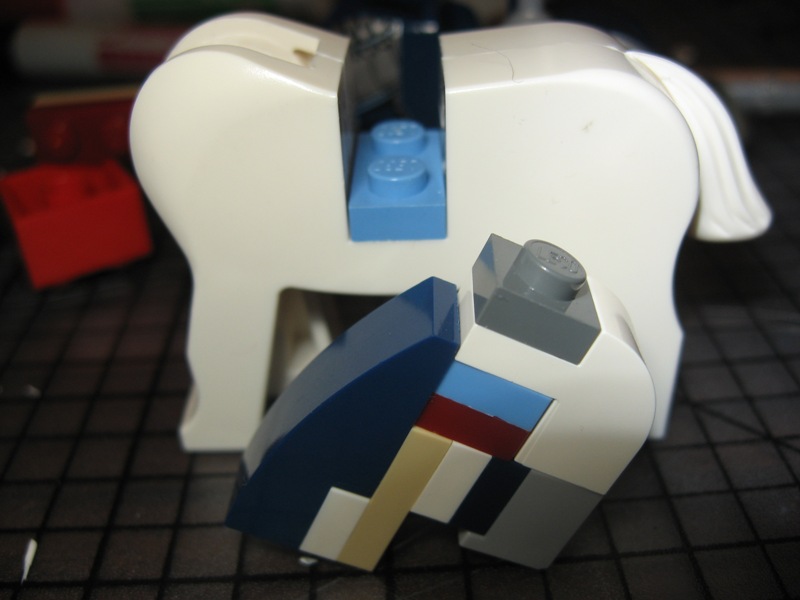
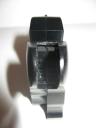
Then, remove the horse head and carefully cut out the front posts (which serve to attach the horse head). Note the areas marked with black ink in the pics below.


One must be careful not to "force cut" the posts to remove them but to either use a small fine-tooth saw or whittle away a little bit at a time using a sharp knife.


Otherwise you run the risk of cracking the horse body (especially at the corner of the gap provided for the horse's saddle).
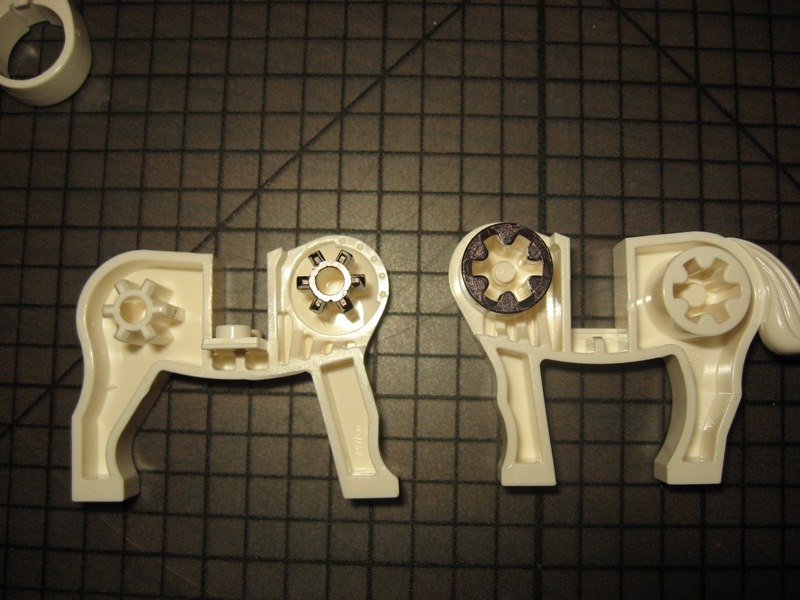
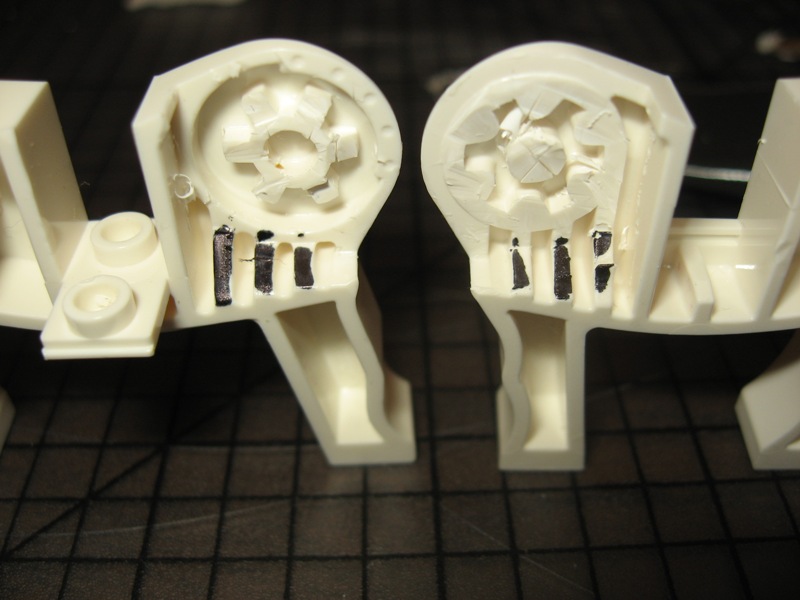
To get the closest fit of the minifig torso to the horse body, it may be helpful also the "excavate" the reinforcement at the bottom of the cavity left by the horsehead. Note areas marked with black ink:

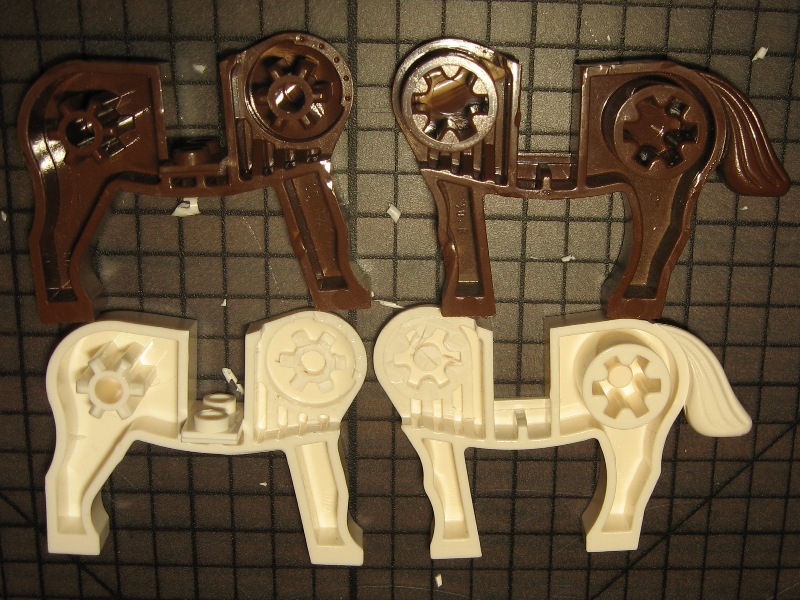
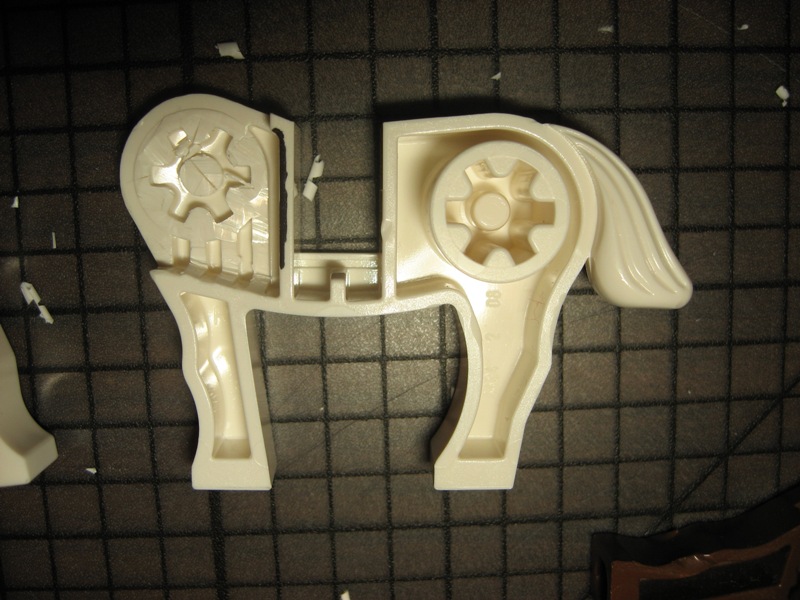
Here is a comparison between a modified horse body (in white) and a horse body that has not yet been modified (in brown):

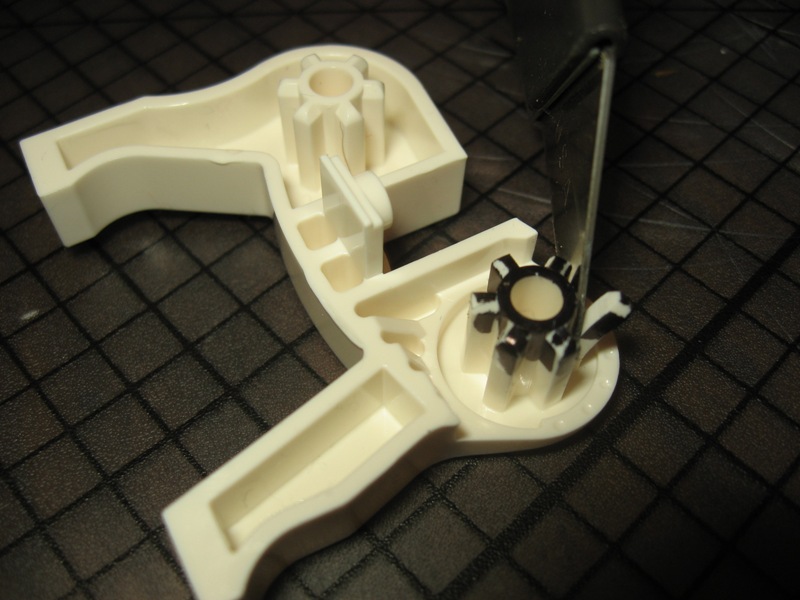
It may be worth gluing the front part of the horse before you reassemble the halves. I've found that if I did not glue this area, the fit of the bricks that fill the gap is not tight enough to keep together. I only applied glue to the area marked with black marker in the pics below. I used superglue, but I imagine you could use any kind of plastic model glue.


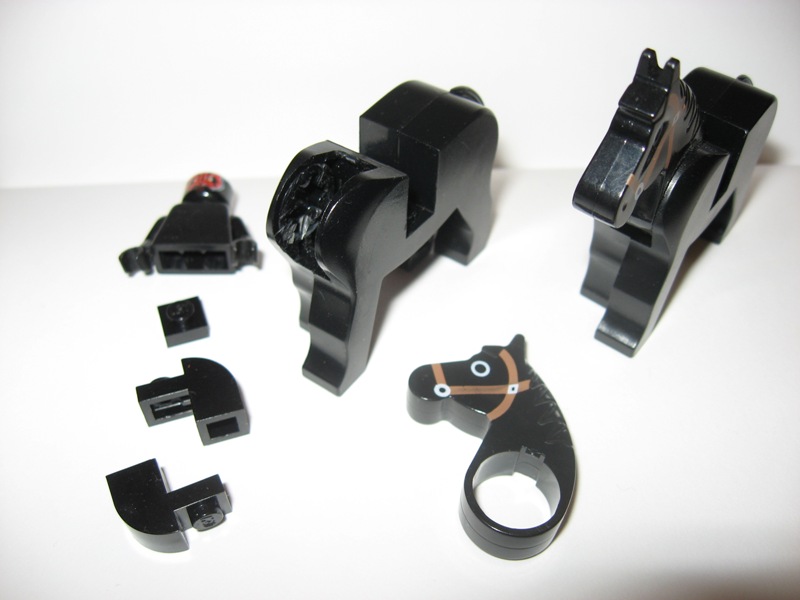
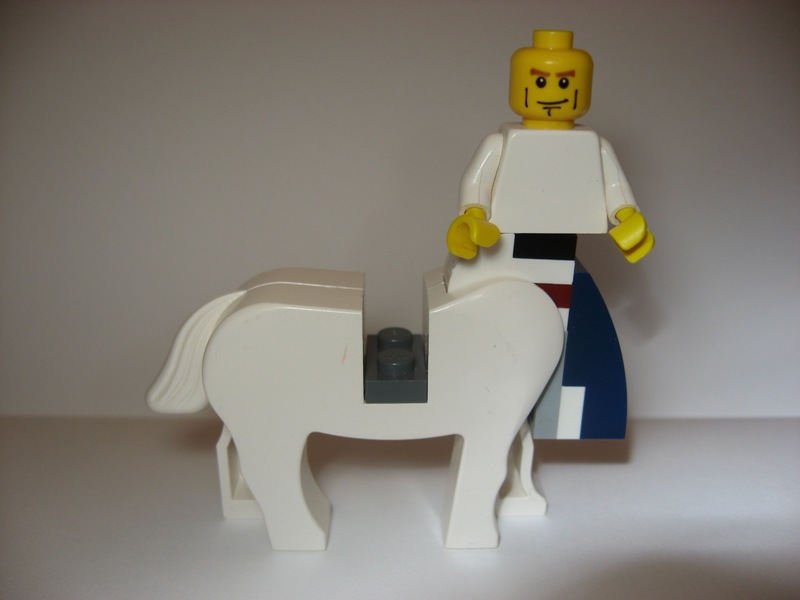
Use two curved slopes and a plate to "fill in" the hole left by excavating the horse head and front posts, and then attach an "old" torso to the 1x1 plate. The "old torso" is necessary because it does not block the stud like the newer torsos do. Although, one can "modify" newer torsos to accept a stud.
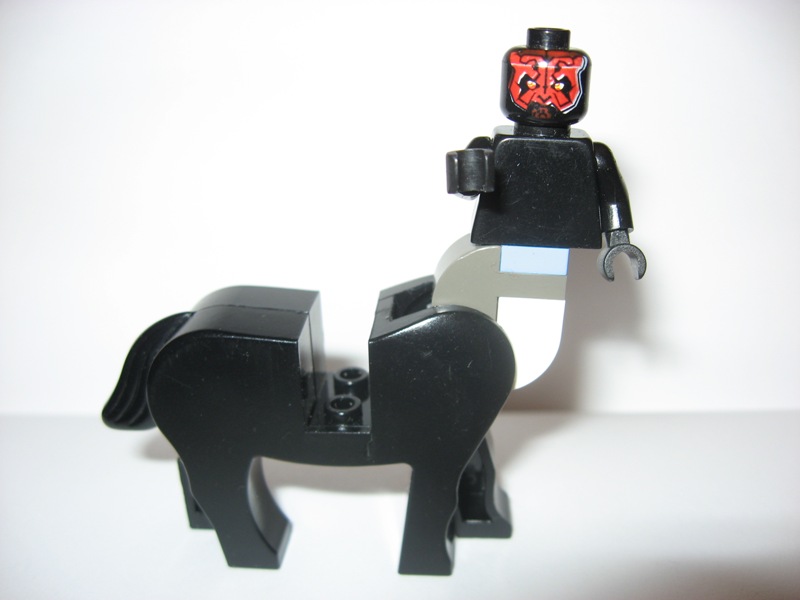
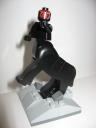
The 1-brick width of the curved slopes allows for a "friction fit" that holds the two slopes together while creating a "curved" transition from the minifig torso to the horse body. I first superglued the two curved slopes together, but found that it was not necessary to do so because the slightly tight fit kept the two slopes together just fine. The friction fit also allows for the centaur to be posed in a "rampant" position because one can move the new "neck" forward. Note that the torso itself can pivot because it rests on the 1x1 plate's stud. One can remove the 1x1 plate so that the torso fits closer to the horse body, but that removes a bit of "pose-ability".
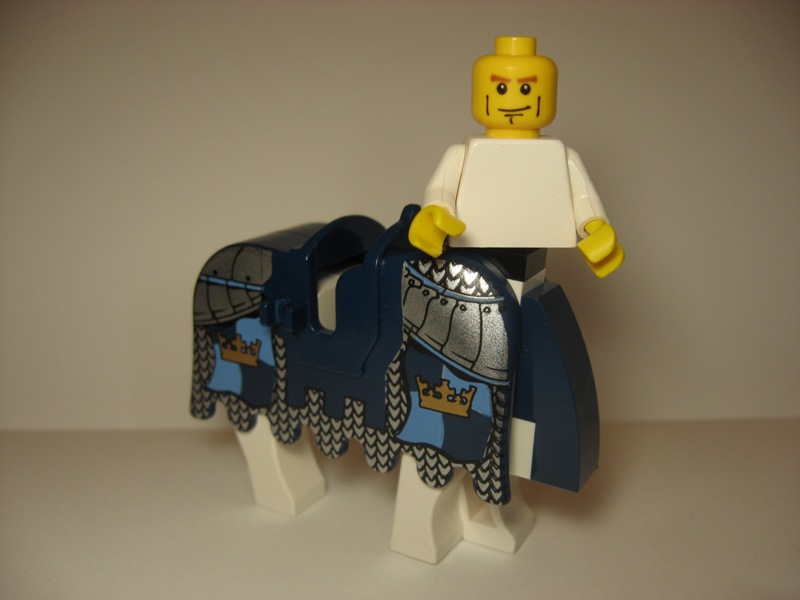
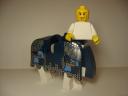
When putting on barding, some changes needed to be made. Basically you need to "build up" the area that "fills in" the hole so that you can put the curved slope in the front to close the gap in the front of the barding. To do this, "raise" the barding by one plate. Thus, the centaur is a plate taller in barding. The addition of the front curved slope reduces the 'mobility' of the centaur's trunk (formerly the horse's neck), but I like the look of it better.


Overall, I was happy with the results of this method. The finished product looks relatively clean, and the curves of the horse body fit relatively well with the curved slopes. I also like the "scale" of the centaur using this method - as it makes the centaur's body the same size as a regular horse. Most of the brick-built centaurs end up having a much smaller scale (see the "brickbuilt juvenile centaur" below for comparison).


Other examples of centaurs include:
- Brickbuilt:
- slyowl's centaurs were incorporated into his massive Aslan's How battle scene and have been discussed on the forum (see also the flickr discussion).
- Alan Findlay has crafted centaurs using his own brickbuilt horse design.
- Micah Berger has built some excellent centaurs with well-done hooves and poseable legs (also here).
- sinji-o's centaur (using pirate peg-legs) is a simple and elegant brickbuilt solution. Regular minifig legs can be used, but the pirate legs look more 'horselike'.
- hopeso009's brickbuilt version uses a combination of skeleton legs and Technic pins for the legs (parts which are probably more readily available to the average builder than the pirate peg-legs used by sinji-o).
- Other brickbuilt centaurs have shown up the in following galleries: menatarms;
DS9;
namelessmage;
wlister;
leonardOQ;
acviking;
jdarlack
- Modified horse bodies:
- porschecm2's (Chris Malloy's) design is similar to mine in that it removes the horse head from the body, but he succeeds in connecting the minifig torso without permanent
mutilation modification, but rather the use of a hinge & rubberbands.
- darkagent's centaur is similar to mine, again in that it uses the horse body, but I'm not sure of exact construction given the photos provided.
- ralf-snake uses the standard horse body and some kind of contour putty to connect the minifig torso.
- ndougla1 apparently saws off the horse's head to attach the minifig torso (see here).
- .Hurricane. has brought the Centaur to the Star Wars universe with his Republic Cavalry Unit by sawing the top of the horsehead off leaving a flat surface left to glue(?). (For a more "classic" application see here.)
- Custom cast:
- Custom-cast centaur bodies have been put together as well (RXWXDX's). An excellent sculpted transition from the horse body to the minifig torso can be seen in ArsLan's flickr accounts. No information given these sites regarding purchase.
- Note also:
- legokinsfolk provides an amazing centaur fit for the skellies!
- IPB provides an example of a bionicle centaur.
|